Showing posts with label 17th century shirt. Show all posts

Sunday, 11 August 2013

Making a 17th century shirt- The finished shirt

Yesterday I took the very last stitches and I'm quite pleased and so is J. As this is the very first item of his 17th century outfit the pictures are a bit out of context, I think it will look a lot better with the proper clothes! I have a feeling the sleeves are a bit too long, but then they have the same measurements as the original shirt, so with the proper jacket it may be perfectly fine. For the moment the ties are made out of cotton tape, but as soon as I find linen tape I am going to change them. I was terribly afraid that the collar would be too narrow, but it is perhaps a bit too wide. The shirt is completely hand sewn and I started it two months ago, though I can't say that I have stithed on it daily.

Previous posts:

Preparations and cutting


The cuffs are made exactly the same way as the collar, except that the sleeve is evenly gathered and has buttonholes at the ends for the ribbon that ties them.

 
The slit in the sleeve has a tiny, 0.5 cm long bar worked in buttonhole stitch to prevent tearing.


Wednesday, 10 July 2013

Making a 17th century shirt- setting in the sleeves and the gussets

The shirt is nearing its completion, the only thing left are the cuffs. The sleeves are very wide with only a portion of that gathered at the top of the shoulder. As with the collar, the body of the shirt is top-stitched to the sleeves.
 
 
The seam allowance are folded and sewn down invisibly, creating a false French seam. On the original shirt this is done on the side and sleeves seams.
 
 
Where the gathers are there is a strip of linen tape sewn over them. Probably because it would be too bulky to fold in the seam allowance. The inside looks very neat.
 
 
The gusset is a small rectangle, 8X8 cm when hemmed.
 
 
As my fabric doesn’t have selvedges, the fake French seams the original has would be much too bulky. Instead I sewed in the gusset from the right side. I always start with sewing the gusset from the corner were sleeves and bodice meet, first down the sleeves side, and then from the corner down the bodice side. After that I fold it so it meets the other side where the sleeve and bodice meet and repeat. Only I continue down the sleeve seam down the whole way, apart for a 10 cm long slit. Then I do the side seam the same way. As my shirt is shorter than the original one, my side split are much shorter, but start at the same place as the original, 46 cm down.
 
 
The gusset in place.
 
 
The side split is reinforced on the wrong side with a small rectangle of linen, 3X2 cm when hemmed.
 
 
The next post with show not only the cuff, but also the finished shirt.

Tuesday, 18 June 2013

Making a 17th century shirt- The neckband


10 meters of linen hemmed! It took me about 15 hours and they did get neater as I went by. I got the tip from Virginiadear at LJ that you can starch the linen for even more neatness and then wash it out, but as I had already started I kept going. I will keep it in my mind for the next time, though! I whipstitched the top and bottom of the sleeves as they aren't hemmed. Arnold doesn't say anything about that, but for my own sanity I wanted to keep any fraying at bay.
 
Next I cut the neck opening. Many of the shirts in Patterns of Fashion 4 has just a slit, but this shirt has an oblong shape cut out, with a slit 16 cm down the front. I kept the original proportions and whipstitched the raw edges. I also hemmed the slit with the same tiny hem as the rest of the shirt.
 

Next I cut two trapetzoid shapes that are re-inforcing the shoulder area. I kept the original proportions here as well, adding 0.5 cm on each side for the hemming. The ends are hidden when the neckband and sleeves are in place, so they are left unhemmed.


It is sewn to the wrong side of the garment, but the stitches can be seen from the right side. I am, by the way, using white cotton thread, not linen as in the original.

 
The neckband is s simple rectangle, folded lengthwise so it ends up being about 4 cm high. I added 0.5 cm all around for hemming. The neckline is gathered, but not all around. The "corners" of the oblong shape are left as they are, the front and the back are then gathered and the neckband sewn on. It is top-stitched from the right, which keeps the gathers in place, but also serves as a decorative element. I derived once again from the original linen thread and used buttonhole silk instead.
 
I think it looks quite neat if I may say so myself!
 
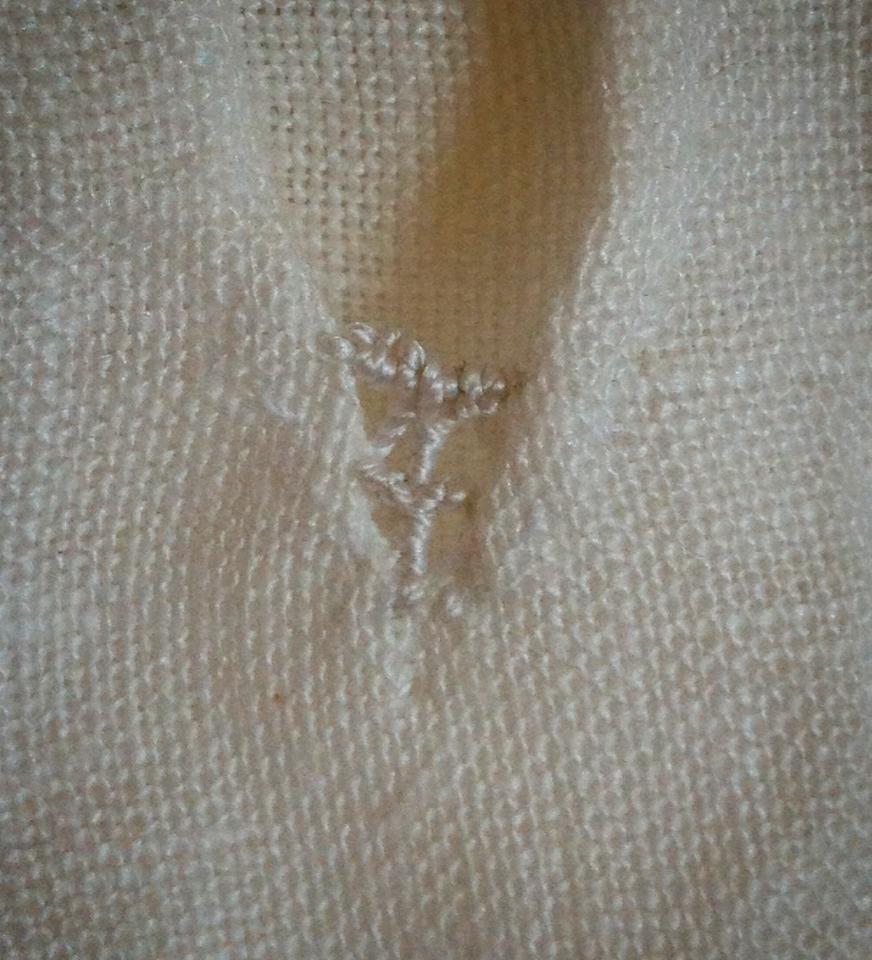
The end of the neckband has the sewing allowance folded against each other and then whip-stitched together. On the wrong side the neckband is hemmed so the raw edge of the neckline is completely covered. I also embroidered a "J" at the wrong side of the neckband, center back. The original has a "C" for Claes there, so I thought it fitting to add J's initial.


I then added the little spiderweb design at the end of the slit. Onca again this has a practical purpose and not just decoration. The end of a slit is a very fragile place and Arnold notes that several other garments have tears in just that place. The cute little spiderweb re-inforced that fragile area. I used buttonhole silk, first just outlining the design with a few threads and then covring those with buttonhole stitches.


The end result is nowhere as neat as the original, but it serves its purpose, I suppose.


Now: Onward to the sleeves!


Wednesday, 12 June 2013

Making a 17th century shirt- Preparations and cutting

Today I cut out and started sewing a 17th century shirt for J. I'm basing it on a pattern in Janet Arnold's Patterns of Fashion 4, on page 74-75. Shirt patterns didn't change much over the course of the 16th to 18th century and all the patterns I have seen after extant examples looks basically like this: A long rectangle forms the body, smaller rectangles the sleeves and there is a square forming a gusset under the sleeves. There are small rectangular pieces forming cuffs and neckband. Details differs and measurements, but that's the general idea. The reasons for choosing just the patterns I did, are several.

The original shirt, complete with blood stains.
Livrustkammaren 21454 (5793:1)
It fits the time period. The shirt was worn by Admiral Claes Bielkenstierna when he was killed in 1659. J's planned outfit will be mid-17th century.
 

It is Swedish. As I'm a Swede, I always enjoy the chance of using a pattern of a garment that has actually been worn in Sweden.

 
It is plain. Most extant shirt has been persevered because they are very pretty, with embroidery and lace. Livrustkammaren, the Swedish Royal Armoury where Claes Bielkenstierna shirt is, has had a bit different view on garments worth saving, like being a shirt worn when somebody important was killed. This particular shirt is very much an everyday shirt, even if the linen is fine and linen quite nice. Despite the plainness it still have some interesting details like a pleated section on the sleeves, a little spider web design on the front sleeves and some decorative back stitched on the neckband. There are also small worked bars at key-points to prevent tearing as well as extra fabric added for reinforcement at several places.
 

The material I will be using is white shirt weight linen. I plan to sew it completely by hand as I like to have a project that I can take with me and work on at odd moments. I also plan to follow the original construction as close as possible. There are a few differences in the measurements. The original shirt is about 120 cm long, mine will be about 100 for tech simple reason that I didn't have enough linen. The original sleeves measure ca 89X64 cm but as J is tall I had lengthened the sleeves to 67 cm. The gussets is 8X8 cm, as is the original ones. I haven't cut the cuffs and neckband yet, but will cut those to fit J.
 

All set to cut. The tail belong to Spiff who helped by wighing down the fabric.
The original fabric was just 100 cm wide which is also the width of the shirt, making the most use of the selvages. Modern fabrics are much wider and tech selvages looks different. So another difference is that I will make a tiny hem all around the body piece before I attaches the sleeves and the gussets. I will also hem the sides of the sleeves the same way. The original shirt has such an hem on edges that doesn't have selvage, so it doesn't feel too far-fetched. The original have hems that are just 1.5 mm wide, which is far too tiny for my sewing skills- my hems will be about 2.5 mm.
 

So now a lot of hemming is in the stars. I will return to you on the shirt subject when it is time to make the neck band.
 

Read more

A dicsussion on the early modern shirt and the making of one at The Costume Historian.

 
Making a plain shirt.
 
An extant shirt in England, similar to Claes Bielkestierna's.

Related Posts Plugin for WordPress, Blogger...