Tuesday 25 June 2013

Hand sewing and the 18th century

A peak inside a blue silk brocade gown, 1775-1790
What a nice response I got on my post on hand sewing! Thank you!

If hand sewing is often thought as hard work or taking too long, I also think that there is an air of superiority and elitism over it that can probably feel a bit daunting to someone who has never tried it. I would really love to see that tought go away!  I do think that hand sewing gives you a better feel for the garment you sew, especially if you sew historical clothes, but it doesn’t, automatically, makes it better than one made with the help of a machine. Sewing skill is one thing, then there is the matter of choosing the right pattern, fabric and colours and knowledge about the fashion you want to re-create. I have heard, though thankfully only once, someone with a badly cut gown worn without the proper underpinnings, trying to trump a beautifully executed one with the right silhouette and colours with a “Well, mine is totally hand sewn”.

I really, really don’t like “I am better than thou”-sentiments. And a badly made garment is still badly made, even if it is sewn by hand.


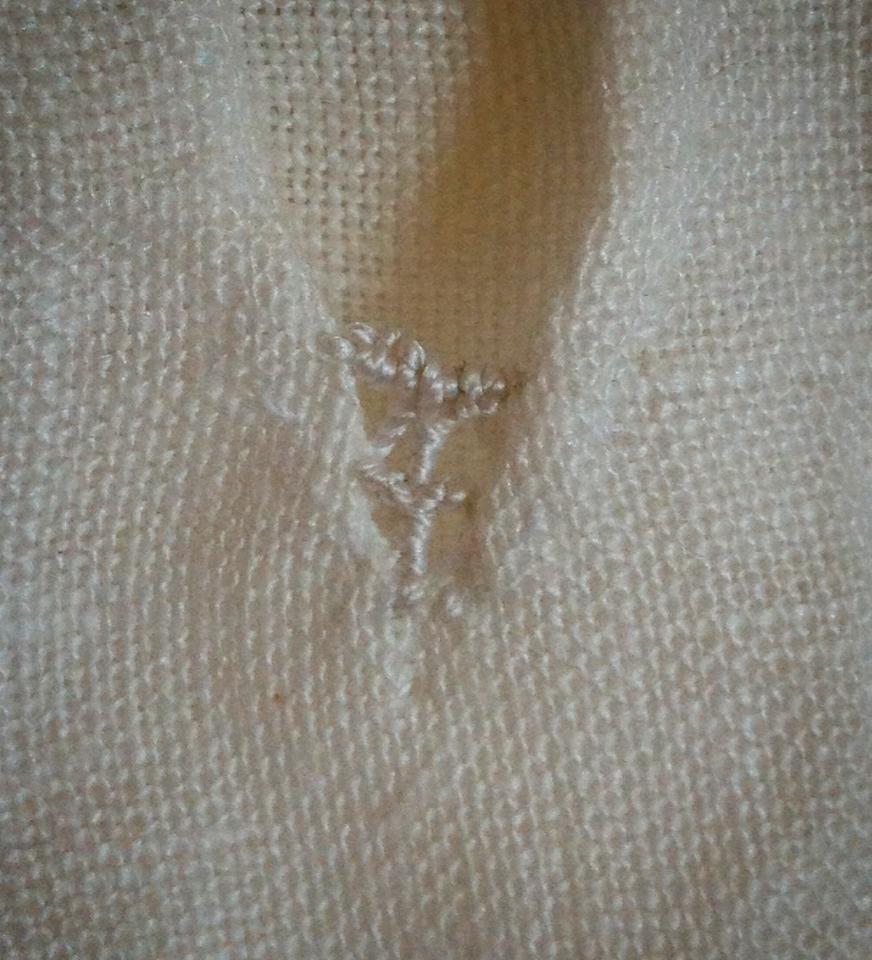
The inside of a pair of silk broacade stays, 1700-1720
With that said, I still think hand sewing can really alter the way you perceive the garment you sew and I would like to talk a little how it  has helped me understand the fashion of the 18th century better.
An 18th century bodice usually has an outer layer and a lining, but no interlining or extra stiffening like men’s wear, though boning is frequently found. That does change a bit toward the end of the century when masculine garments like the redingote find its way into the female wardrobe and stays may have extra layers for stiffening, but those are exceptions. The lining may mimic the shell fabric in cut, but sometimes the lining forms a close-fitting foundation on which the outer layer are pleated. The Robe Française is an excellent example on that. But for the sake of simplicity, I will talk about a bodice where lining and shell fabric looks the same. 18th century clothes are also cut very economically. Sewing allowances are as small as possible and when there are not, the excess fabric are not cut away, but are left, so a later un-picking would result in larger pieces. A good example is petticoats. To look right, a petticoat worn over hoops need to be longer at the sides than they are CF and CB. You can cut the fabric, but 18th century petticoats often have the excess fabric just folded back to give the needed curve.

This yellow jacket is beautiful, isn’t it?. Looking at it like this it is easy to think that all the seams are made up the same, but in fact they are all made differently! Some treats the lining and shell fabric as one layer, some don’t. Some are sewn from the wrong side, some from the right, each chosen to fit that particular seam and its purpose.

Silk brocade jacket. Dated by Pernilla Rasmussen to the mid-late 18th century, though the fabric is older.
 
When I first started out making 18th century clothes I usually made up lining and shell fabric as two separate pieces. I sewed the pattern pieces together with putting the right seams together, sewing a seam, and pressing it apart. Then when they were finished, they are put together, right side to right side,  and finished. Not very historically correct, but quite fast.

A couple of years ago I decided to make a gown after a pattern taken from this extant robe.

Silk brocade gown, 1790's
 
It has a fitted back and a gathered front and was made in the 1790’s. The fabric, however, dates back to the 1770’s and it is very clear that is re-made from an old gown, probably a Robe Française. There is a lot of piercing going on, especially in the trail. The bodice look like it has a very narrow back, but in reality it has a center back seam and then the narrow fabric piece is sewn on top of it. An illusion, in other words. The armscye looks larger than it is as well. It is normally sized, but the sleeves are sewn well into the back to enforce the look of a narrow back. If unpicked, the back would provide much more fabric than it looks like from the outside.

As I wanted to sew my gown as closely as possible to the original, I had, for the first time, to really look into the way it was made and I found that there was no way around it, I had to do a lot of hand sewing to pull it off. The back piece, for example, is not functional for the gown’s construction and you have no choice but to sew it from the right side. By hand.

The skirt is cartridge pleated to the narrow back pleated, then pleated until the side seam. The front is gathered with the bodice front.
The sleeves, as they aren’t sewn into the armscye at the back, also had to be sewn in by hand. And they were so much easier to do that way! The lower half, that does match the armscye, is sewn like you usually do, right sides together, but then then the sewing allowances are folded under and the sleeve is finished from the right side.

The way the sleeves and its lining was put together was also fun and for me unusual. The technique can be dated, at the very least, to early 17th century and it remained used during the 19th century.
 
This is a two-piece sleeve. If not, the first step is not needed. And that is to sew one of the sleeve seams. As well as the same seam on the sleeve lining.

Right click on the pictures for opening a larger version in a new window
 
Then you put sleeve and lining on top of each other, pin (baste) and sew that seam as one.


Please note that you should put right pattern pieces together. I didn't. I put the sleeve together with the identical lining, when it should have been the opposite. It should NOT look like this:

 
But like this:

 
Hmm, I realise that it's hard to see the difference as the lining is a bit sheer, but trust me- on the second picture the pieces mirrors each other.

Press seams and then start to pull the sleeve the right way. Don't bother with the lining at all, concentrate on the sleeve itself. Because when it's turned right, the lining is neatly right inside as well. You probably need to fiddle a little to make it all wrinkle-free, but I thought it really easy.

 
Tadaa!


As I have said before, I do use my machine, mainly for long, boring seams, but I find that I sew more and more by hand as the years go by. And I can heartily recommend anyone to give it a try! I had in mind of making a post about the different stitches, but I think there already are plenty of good instructions online. I have included several links, even if the information overlaps a lot. I have done that in the hope that everyone can find an explanation that suits them.

The inside of a Robe Francaise, 1765-1775
As for the bibliography I must once again lament the fact that costume books rarely seem to be translated into English. Both Kvinnligt mode and Skräddaren, sömmerskan och modet are treasures when it comes to construction analyses. The latter also have schematic illustrations on different seams and when they are used. Both contains pattern of extant clothes, especially Kvinnligt mode. Skräddaren, sömmerskan och modet have fewer patterns and those are mostly the same as the first one, but with a more in depth discussion on the sewing techniques. There is also a pattern for a bed jacket dated to the 1790’s-1810’s which I would love to make!

Links
Archaeological Sewing


The inside of a silk jacket, late 18th century
Bibliography
Arnold, Janet, Patterns of Fashion : Englishwomen's dresses & their construction. 1, C. 1660-1860, London : MacMillan, 1977

Hammar, Britta and Pernilla Rasmussen,  Kvinnligt Mode Under Två Sekel, Lund : Signum, 2001

Rasmussen, Pernilla, Skräddaren, sömmerskan och modet : arbetsmetoder och arbetsdelning i tillverkningen av kvinnlig dräkt 1770–1830, Stockholm : Nordiska museets förlag, 2010


Friday 21 June 2013

The joys of hand sewing

A Girl Sewing by Philip Mercier, ca 1750
I’m stitching away on my 17th century shirt and I thought that a post on hand-sewing wouldn’t be amiss. I think it needs more love. I know that many thinks that it is difficult to sew by hand, but as any other skill it is more a matter of practice. Most garments can be made with some very basic seams that aren’t hard to do, but it does take practice to get them neat and even. But, hand on the heart, what did your first machine stitched garment look like? Mine looked awful, with crooked seams. To be able to use a sewing machine takes practice too.

I don’t sew my historical clothes completely by hand, well, not all of them at least, but I do a lot of hand-sewing on every project nevertheless. I use my machine for assembling my clothes, to stitch a skirt together, or a bodice. Basically because it is faster. And I sew my stays on a machine, because my hands can’t cope with sewing so many seams through all those layers of fabric. But hand sewing can offer a lot that a noisy machine can’t.


The Needlewoman by Diego Velázquez, 1635-1643
Looks Finishing a garment by hand does improve its general look. For example, imagine a beautiful 18th century silk gown, made after a correct pattern, but with the hemming made on a machine, leaving a very visible stitch line all around the petticoat. I have seen that, and it isn’t pretty.
Period accuracy Well, duh, of course! The sewing machine didn’t reach the general populace until the last half of the 19th century, so of course you are period correct if you sew you clothes by hand. But what you may not think about is that the clothes were designed to be sewn by hand, not with a machine, and if you try to sew a period pattern on a machine, you may have difficulties that disappear when you do it by hand. My big revelation on this subject was 18th century sleeves. I insisted for a very long time to do them on the machine, fighting a very uneven battle and a lot of seam ripping and teeth grinding. Then I tried to set the sleeves as they are described in one of my books, completely by hand, and everything just feel into place and the sleeve looked so much better. Some things are easier to make by machine, but trust me, not everything.


Interior with Woman Sewing by Wybrand Hendriks
Control When you stitch by hand, it is much easier to control the fabric. It is, I admit, a bit of a skill to make sure that your stitches end up exactly where you want it, but fiddly and tiny bits are so much easier to get right if you can use your fingers to control it rather than your pressing foot.

Social One of my favourite things with hand sewing is that you can do other things while you sew. At the machine you have to concentrate very closely on what you are sewing and it is usually not noiseless either. I can talk with family and friends while I hand sew and I can watch movies or TV. My son and I are currently having a Doctor Who-marathon and I do a lot of sewing while watching.

Mobile Small projects or smaller parts of one are easy to bring along. I have a friend who always sews on her train commute. I sew at breaks at work, or in a waiting room.
 
Young Woman Sewing by the Light of a Lamp by Georg Friedrich Kersting, 1823
 

Tuesday 18 June 2013

Making a 17th century shirt- The neckband


10 meters of linen hemmed! It took me about 15 hours and they did get neater as I went by. I got the tip from Virginiadear at LJ that you can starch the linen for even more neatness and then wash it out, but as I had already started I kept going. I will keep it in my mind for the next time, though! I whipstitched the top and bottom of the sleeves as they aren't hemmed. Arnold doesn't say anything about that, but for my own sanity I wanted to keep any fraying at bay.
 
Next I cut the neck opening. Many of the shirts in Patterns of Fashion 4 has just a slit, but this shirt has an oblong shape cut out, with a slit 16 cm down the front. I kept the original proportions and whipstitched the raw edges. I also hemmed the slit with the same tiny hem as the rest of the shirt.
 

Next I cut two trapetzoid shapes that are re-inforcing the shoulder area. I kept the original proportions here as well, adding 0.5 cm on each side for the hemming. The ends are hidden when the neckband and sleeves are in place, so they are left unhemmed.


It is sewn to the wrong side of the garment, but the stitches can be seen from the right side. I am, by the way, using white cotton thread, not linen as in the original.

 
The neckband is s simple rectangle, folded lengthwise so it ends up being about 4 cm high. I added 0.5 cm all around for hemming. The neckline is gathered, but not all around. The "corners" of the oblong shape are left as they are, the front and the back are then gathered and the neckband sewn on. It is top-stitched from the right, which keeps the gathers in place, but also serves as a decorative element. I derived once again from the original linen thread and used buttonhole silk instead.
 
I think it looks quite neat if I may say so myself!
 
The end of the neckband has the sewing allowance folded against each other and then whip-stitched together. On the wrong side the neckband is hemmed so the raw edge of the neckline is completely covered. I also embroidered a "J" at the wrong side of the neckband, center back. The original has a "C" for Claes there, so I thought it fitting to add J's initial.


I then added the little spiderweb design at the end of the slit. Onca again this has a practical purpose and not just decoration. The end of a slit is a very fragile place and Arnold notes that several other garments have tears in just that place. The cute little spiderweb re-inforced that fragile area. I used buttonhole silk, first just outlining the design with a few threads and then covring those with buttonhole stitches.


The end result is nowhere as neat as the original, but it serves its purpose, I suppose.


Now: Onward to the sleeves!


Saturday 15 June 2013

1790's gown wants

Or; I need a new project like, well, like not at all. But...

But I recently found this wonderful striped linen. It is a lovely quality and drape and would make for a wonderful summer's gown.


And then I found this picture.

Source

And I already made this kind of dress twice, so the patterns is true and tried.


And my 17th century shirt project is going so well that I will probably finish it within a few days and then I will need a new hand-sewing project. And, correct me if I'm wrong, but wouldn't a striped, 1790's gown make for a wonderful hand-sewing project? It is almost like I has no choice. Right?

Wednesday 12 June 2013

Making a 17th century shirt- Preparations and cutting

Today I cut out and started sewing a 17th century shirt for J. I'm basing it on a pattern in Janet Arnold's Patterns of Fashion 4, on page 74-75. Shirt patterns didn't change much over the course of the 16th to 18th century and all the patterns I have seen after extant examples looks basically like this: A long rectangle forms the body, smaller rectangles the sleeves and there is a square forming a gusset under the sleeves. There are small rectangular pieces forming cuffs and neckband. Details differs and measurements, but that's the general idea. The reasons for choosing just the patterns I did, are several.

The original shirt, complete with blood stains.
Livrustkammaren 21454 (5793:1)
It fits the time period. The shirt was worn by Admiral Claes Bielkenstierna when he was killed in 1659. J's planned outfit will be mid-17th century.
 

It is Swedish. As I'm a Swede, I always enjoy the chance of using a pattern of a garment that has actually been worn in Sweden.

 
It is plain. Most extant shirt has been persevered because they are very pretty, with embroidery and lace. Livrustkammaren, the Swedish Royal Armoury where Claes Bielkenstierna shirt is, has had a bit different view on garments worth saving, like being a shirt worn when somebody important was killed. This particular shirt is very much an everyday shirt, even if the linen is fine and linen quite nice. Despite the plainness it still have some interesting details like a pleated section on the sleeves, a little spider web design on the front sleeves and some decorative back stitched on the neckband. There are also small worked bars at key-points to prevent tearing as well as extra fabric added for reinforcement at several places.
 

The material I will be using is white shirt weight linen. I plan to sew it completely by hand as I like to have a project that I can take with me and work on at odd moments. I also plan to follow the original construction as close as possible. There are a few differences in the measurements. The original shirt is about 120 cm long, mine will be about 100 for tech simple reason that I didn't have enough linen. The original sleeves measure ca 89X64 cm but as J is tall I had lengthened the sleeves to 67 cm. The gussets is 8X8 cm, as is the original ones. I haven't cut the cuffs and neckband yet, but will cut those to fit J.
 

All set to cut. The tail belong to Spiff who helped by wighing down the fabric.
The original fabric was just 100 cm wide which is also the width of the shirt, making the most use of the selvages. Modern fabrics are much wider and tech selvages looks different. So another difference is that I will make a tiny hem all around the body piece before I attaches the sleeves and the gussets. I will also hem the sides of the sleeves the same way. The original shirt has such an hem on edges that doesn't have selvage, so it doesn't feel too far-fetched. The original have hems that are just 1.5 mm wide, which is far too tiny for my sewing skills- my hems will be about 2.5 mm.
 

So now a lot of hemming is in the stars. I will return to you on the shirt subject when it is time to make the neck band.
 

Read more

A dicsussion on the early modern shirt and the making of one at The Costume Historian.

 
Making a plain shirt.
 
An extant shirt in England, similar to Claes Bielkestierna's.

Related Posts Plugin for WordPress, Blogger...